Thursday, December 9, 2010

Instructions With Scientific Terminology


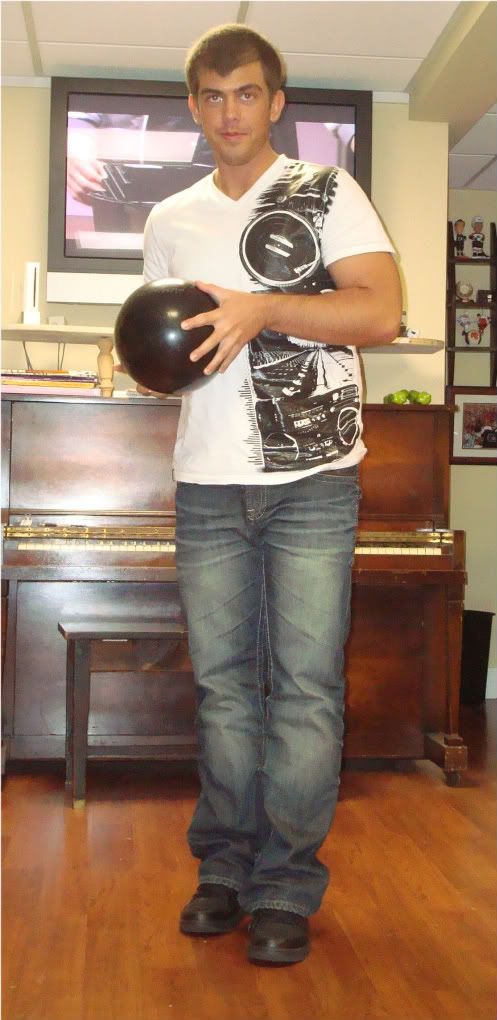
The movement begins when the bowler steps onto the approach, aligns their body to the target, and places their hand in the ball. The right shoulder joint has isometric elevation due to the balls weight, the right elbow joint has isometric flexion at 90 degrees, and slight flexion in the right hand finger joints. The left elbow joint is rotated medially and the left shoulder girdle is abducted. Next is the second phase of the movement, also known as the “pushaway”. Extension occurs in your right elbow joint as you push the ball lateral to your right leg.  Plantar flexion occurs in your left ankle joint. The third step is taken with the left foot. At this point the ball begins is downward arc. If the bowler stays relaxed the swing should stay within the saggital plane. The left arm should move off the ball and provide balance for the shoulders and body. The fourth step is taken with the right foot, the movement before the bowler releases the ball. At the end of the arm swing should have reached the highest point or peak. There are several factors that affect the height, such as shoulder and chest flexibility, amount of trunk flexion, and whether or not the shoulder joint externally rotates. The fifth and final step is taken with the left foot. The arm swing will begin to increase in speed due to the gravitational force on the ball and arm. At the bottom of the swing the bowler will slide off the thumb and lift with the fingers by continuing motion of the arm swing.

Isometric- Describing a contraction involving no change in muscle length
Flexion- The process of bending or the state of being bent.
Medial- Pertaining to the middle; in or toward the middle; nearer the middle of the body
Abduction- The movement of a limb away from the midline of the body.
Extension- The movement that returns a body segment to anatomical position from a position of flexion, and hyperextention
Lateral- In anatomy, the side of the body or a body part that is farther from the middle or center of the body
Plantar Flexion- Movement which increases the approximate 90 degree angle between the front part of the foot and the shin
Saggital Plane-Plane in which forward and backward movements of the body and body segments occur
Balance- Ability to maintain the center of gravity of a body within the base of support with minimal postural sway
Flexibility- The absolute range of movement in a joint or series of joints, and length in muscles that cross the joints
Force- Push or pull; the product of mass and acceleration
                                                   Low Ball Drill

The low ball drill is used to help the bowler practice their spare shooting. This also allows you to realize how much room you should allow yourself when shooting these spares.


This drill is based on the LOWEST score, which means its excellent practice for a team. Right handed bowlers will try to throw their ball between pins 6 and 10. Left handed bowlers will aim for pins 4 and 7. If the bowler throws the ball into the gutter on the first ball they are awarded a strike, if the bowler misses pins on the second ball they are awarded a spare.
                                                 The Pushaway Drill


The pushaway drill is used to help create a consistent approach.


                                                          Step 1


Place the ball in front of the shoulder with your elbow at your side.  This will form a 90 degree angle between the shoulder, elbow and hand.  The hand should be directly under the ball with the non-ball-side hand under the ball for support. 

After setting-up, take one natural step with the slide foot without moving the ball. A natural first step is the best practice for consistency.


                                                          Step 2

 
Remember to push in the second step. Push out and down as you take your second step in the drill.  Your goal is to get the elbow to intersect with the knee and let the ball enter into the swing.  Notice the arm is not fully extended.


                                                             Step 3


With this drill, you want to emphasize a free swing.  Let the ball, with the aid of gravity swing naturally.  If you feel yourself pulling, try closing your eyes throughout the entire drill.  Closing your eyes will accomplish two things: (1) relax your body; and (2) allow you to “feel” whether you are pulling the ball up or down in the swing.

Thursday, November 4, 2010

RELEASE DRILL
The release drill is used to help the bowler know where his/her hand is during their release. This helps create what is known as a flat spot since the ball is starting from the floor. Right handed bowlers should start by kneeling on their right knee and placing their right knee directly behind the left foot. This should create a rectangle between their right knee and left foot. From this point the left forearm should be placed over the left knee to help create leverage.

The bowling ball will start at the bowlers left foot and be drawn back to roughly where the right knee is. During this motion the arm should remain straight, the elbow should not bend. Also the ball should never come off the ground and should slide smoothly throughout the movement. Many bowling instructors stress that during the drill you draw the ball back and forth 2-3 times prior to releasing to emphasize a consistent movement. By emphasizing the movement you help create muscle memory. At the point of release you are going to follow through, those performing the drill should note it’s not about where the ball goes down the lane. The drill is specifically used to create a free arm swing, a straight arm, and for the bowler to become familiar with the weight transfer through your fingers tips at the time of release.

Thursday, October 7, 2010

Novice Video

Expert Video
Step 1 I begin with the ball right above my waist, my right elbow is slightly tucked back and my left arm helps maintain balance. I keep my feet together with my left starting ahead of my right. I have an slight bend in my right knee, this allows me to start from a comfortable position.